
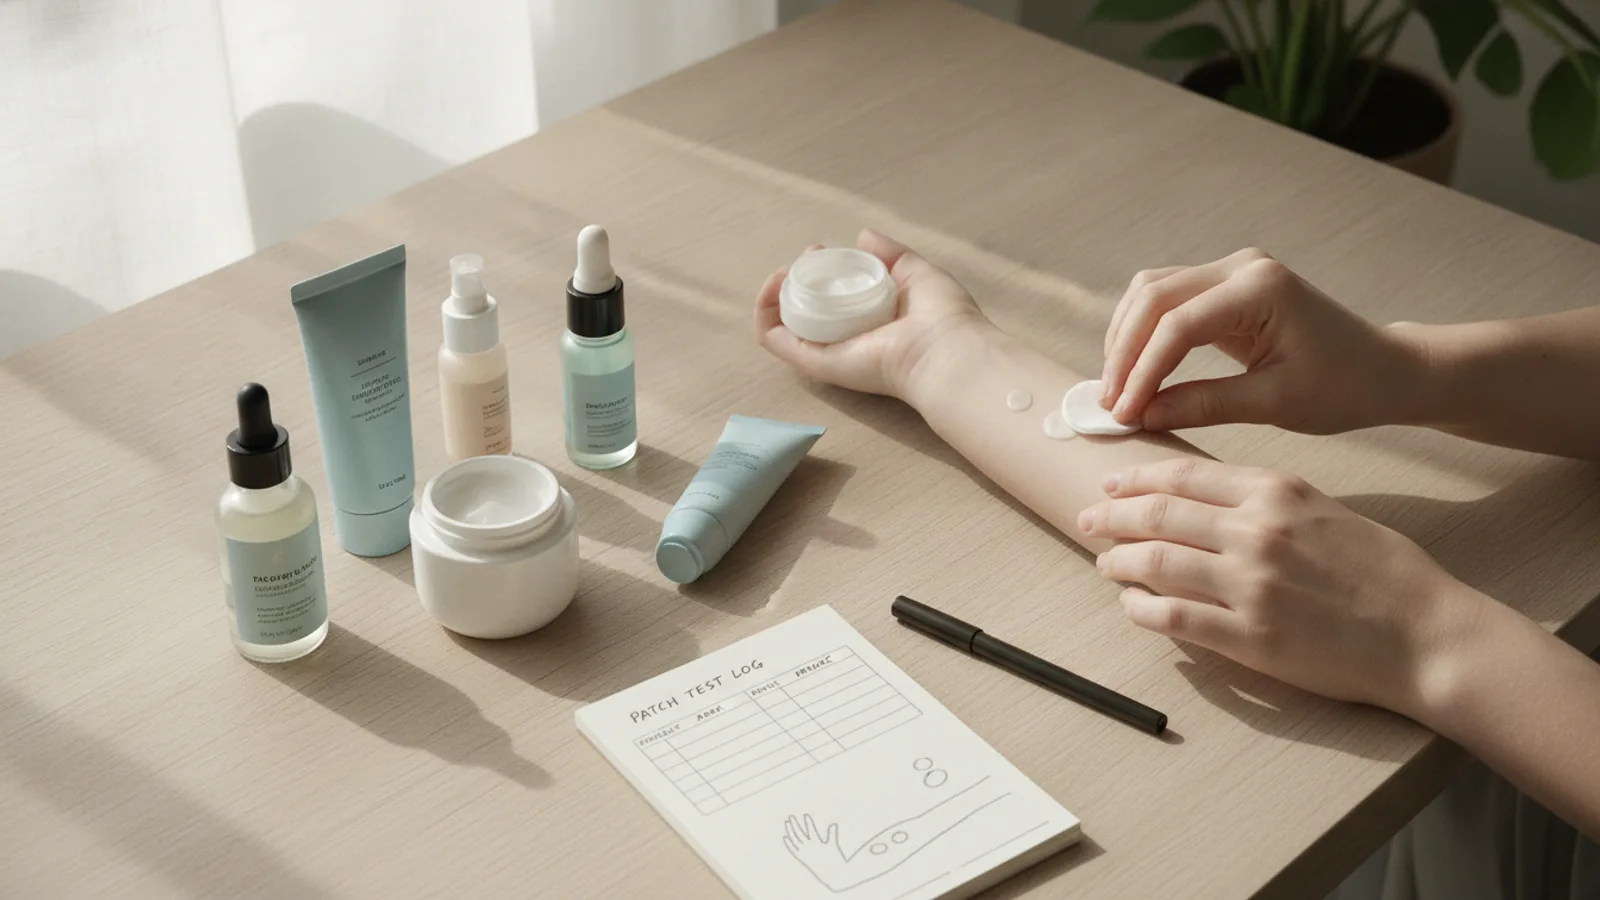
How To Patch Test Skincare Products
A patch test is a simple but essential step to check if your skin will react negatively to a new skincare product before you use it all over your face. This guide helps you perform one correctly to prevent widespread irritation, redness, or allergic reactions. Following these gentle steps ensures you can introduce new serums, moisturizers, and treatments into your routine with confidence and care, especially if you have sensitive skin.
Fast Answer
- Action: Apply a dime-sized amount of the new product to a clean, discreet patch of skin.
- Location: The inner elbow, behind your ear, or along your jawline are ideal spots.
- Duration: Leave the product on and observe the area for at least 24 to 48 hours.
- Check for: Any signs of redness, itching, swelling, burning, or small bumps.
Before You Start
Preparing for a patch test is simple and doesn't require any special tools. The goal is to create a controlled environment to see how your skin reacts to a single new product. It’s a small moment of mindfulness that can save you from days of discomfort later on.
What You Need
- The new skincare product you want to test.
- Clean hands. Wash them thoroughly with soap and water before you begin.
- A clean, dry area of skin. Make sure the spot is free of any other lotions or products.
- (Optional) A small bandage to cover the area if it’s in a spot that might rub against clothing.
Safety, Timing, and Context Checks
Before you apply anything, it's wise to understand the context of what you're doing. A patch test is your first line of defense against a potential reaction. It's a quiet conversation between the product and your skin.
- Test one product at a time. If you test multiple new products simultaneously, you won't know which one caused a reaction if your skin becomes irritated. Give each new product its own dedicated test.
- Know your skin's history. If you have a history of severe allergies, eczema, or rosacea, be extra cautious. It may be wise to consult your dermatologist before trying products with strong active ingredients.
- Understand the limits. A patch test is excellent for spotting immediate allergic reactions and irritation (contact dermatitis). However, it won't always predict breakouts or clogged pores (comedogenicity), which can take weeks to develop.
Step-by-Step Instructions
Follow these steps carefully to perform an effective and reliable patch test. This slow, mindful approach helps you get to know a product before committing to it as part of your daily routine.
Choose Your Test Spot
The first step is selecting a small, out-of-the-way area of skin. You want a spot that is sensitive enough to show a reaction but also easy to hide if irritation occurs. Good options include:
- The inner elbow or wrist: The skin here is thin and delicate, similar to facial skin, making it a reliable spot for checking for irritation.
- Behind your ear: This is another discreet area where the skin is sensitive and reactions can be easily monitored.
- The side of your neck or along the jawline: This is a great final-check spot because it’s very close to your face and gives you a good idea of how your facial skin will behave.
Avoid testing on areas where your skin is already broken, irritated, or very different from your facial skin, like the palms of your hands or soles of your feet.
Clean and Dry the Area
To get an accurate result, you need a clean slate. Gently wash the small patch of skin you’ve chosen with a mild, fragrance-free cleanser and warm water. Pat the area completely dry with a clean towel. This step is crucial because it removes any dirt, oil, or residual product that could interfere with the test and cause a false reaction.
Apply a Small Amount of the Product
You don't need much. Apply a small, thin layer of the product to your prepared test spot. For a lotion or cream, a dime-sized amount is plenty. For a serum or oil, just one or two drops will do. Gently dab or smooth the product onto the skin. Don't rub it in vigorously; just let it sit on the surface as it would during normal application. The goal is to expose the skin to the product's formula, not to force absorption.
Leave the Area Undisturbed and Observe
Now, the waiting begins. The standard observation period is at least 24 hours. For many people, especially those with sensitive skin, extending this to 48 or even 72 hours provides a more reliable result, as some reactions can be delayed.
During this time, try to keep the area dry. Avoid swimming or soaking in a bath, and be careful when you shower. If you’re concerned about the product rubbing off on clothes or bedding, you can loosely cover the spot with a breathable bandage. However, leaving it uncovered is often best, as covering it (an act called occlusion) can sometimes intensify a reaction.
Check for Signs of a Reaction
Throughout the waiting period, and especially at the end, carefully examine the test spot. Look for any visible or sensory changes in your skin. A negative reaction can manifest in several ways:
- Redness or rash: The area may look pink, red, or blotchy.
- Itching: This is one of the most common signs of an allergic reaction or irritation.
- Burning or stinging: The skin might feel uncomfortably hot or prickly.
- Swelling: The area may appear puffy or raised compared to the surrounding skin.
- Bumps or blisters: Small bumps, hives, or tiny blisters may form.
- Dryness or flaking: The product might cause the skin to become unexpectedly dry, scaly, or flaky.
It's helpful to check the area in natural daylight, as artificial lighting can sometimes mask subtle changes in skin tone.
Evaluate the Results and Decide
After 24-48 hours, it's time to make a decision. There are two possible outcomes:
- No Reaction: If the skin in your test spot looks and feels completely normal—no redness, no itching, no changes at all—congratulations! The product has likely passed the test. It is generally considered safe to proceed with using it on your face.
- A Reaction Occurs: If you experienced any of the negative signs listed in the previous step, even if they are mild, the product has failed the test. Do not use it on your face. Wash the test area gently to remove any remaining product. The formula contains an ingredient that doesn't agree with your skin.
Quick Reference
| Situation | Use this Method | Why |
|---|---|---|
| Trying any new leave-on product (serum, moisturizer) | Standard 24-48 hour test on the inner arm. | This is the gold standard for checking for common allergies and irritation before facial application. |
| Testing a product with strong actives (retinol, AHA/BHA) | Cumulative test: apply to the same spot for 3-5 consecutive days. | Strong ingredients can cause irritation that builds up over time, which a single test might miss. |
| Testing a rinse-off product (cleanser, face mask) | Apply to a test spot, leave for 5-10 minutes, then rinse off. Observe the area for 24 hours. | This method mimics the product's intended use while still allowing time to check for any delayed reactions. |
| You have very sensitive or reactive skin | "Double" patch test: first behind the ear, then if clear, test again on the jawline. | This provides two layers of safety, checking a highly sensitive area first before moving closer to the face. |
Common Problems When You Patch Test Skincare Products
Even a simple process can have its quirks. Here are solutions to some common issues that might come up while you're patch testing.
- Problem: I'm not sure if it's a reaction or just normal.
Sometimes a product can cause a very faint, brief pinkness that disappears in minutes. This might just be from touching your skin. A true irritation or allergic reaction will persist. If the area feels warm to the touch, itchy, or the redness doesn't fade, consider it a reaction. When in doubt, it's safest to assume it's a "fail." - Problem: I accidentally washed the product off.
If you forgot about the test and washed the area before the 24 hours were up, the test is invalid. You’ll need to start over in a new spot to get a reliable result. - Problem: The product passed the test, but I broke out a week later.
This is a key limitation of patch testing. It’s designed to detect immediate irritation and allergic reactions (contact dermatitis). It cannot reliably predict acne breakouts (comedogenicity) or purging, which happens over a longer period as your pores become clogged or cell turnover increases. If you're acne-prone, it's still wise to introduce new products slowly, one at a time, so you can monitor for breakouts over several weeks. - Problem: How do I handle a bad reaction?
If you experience a significant reaction, wash the product off immediately with a gentle cleanser and cool water. Apply a cold compress to soothe the area. You can also apply a simple, fragrance-free moisturizer or a product with calming ingredients like aloe vera or colloidal oatmeal. If the reaction is severe, widespread, or doesn't improve, it's best to contact a doctor or dermatologist.
Advanced Tips for Patch Testing
Once you're comfortable with the basic process, these advanced techniques can provide even more insight, especially if your skin is particularly reactive or you're using powerful formulas.
- Test for Cumulative Irritation: Some ingredients, particularly exfoliants like glycolic acid (AHA), salicylic acid (BHA), and retinoids, might not cause irritation with a single application. However, using them several days in a row can cause sensitivity to build up. To test for this, apply the product to the same patch test spot for 3 to 5 consecutive days. If the area becomes red or irritated by day three, it’s a sign the product is too strong for you to use daily.
- Keep a Skincare Journal: If you frequently react to products, consider keeping a journal. Note the product name, the date you tested it, and the result. If it caused a reaction, list the top 5-10 ingredients. Over time, you may notice a pattern, helping you identify a specific ingredient (like a particular fragrance, preservative, or essential oil) that your skin dislikes.
- Consider the Body of the Product: Think about what kind of product you're testing. A heavy, occlusive cream has a different impact than a watery toner. Be mindful that patch testing an eye cream on your inner arm might not fully replicate how the delicate skin around your eyes will react. For specific products like eye creams, a very small test right on the orbital bone (but away from the eye itself) can be a useful final check after a successful arm test.
How To Patch Test Skincare Products FAQ
Where is the best place to patch test a new skincare product?
Can I patch test more than one product at a time?
What does a negative skin reaction look like?
How long do I need to wait for patch test results?
Do I really need to patch test every single new product?
Final Checklist for Patch Testing Skincare Products
Use this final checklist to ensure you’ve followed all the right steps for a successful patch test. This mindful pause is a true act of self-care for your skin.
- You have chosen a single, new product to test.
- You have selected a clean, dry, and discreet patch of skin.
- A small, appropriate amount of the product has been applied.
- The test area will be kept dry and undisturbed for at least 24 hours.
- You have carefully observed the skin for any signs of irritation or reaction.
- You will only apply the product to your face if the test spot remains calm and clear.
- If a reaction occurred, you have gently washed the product off and will avoid using it.